
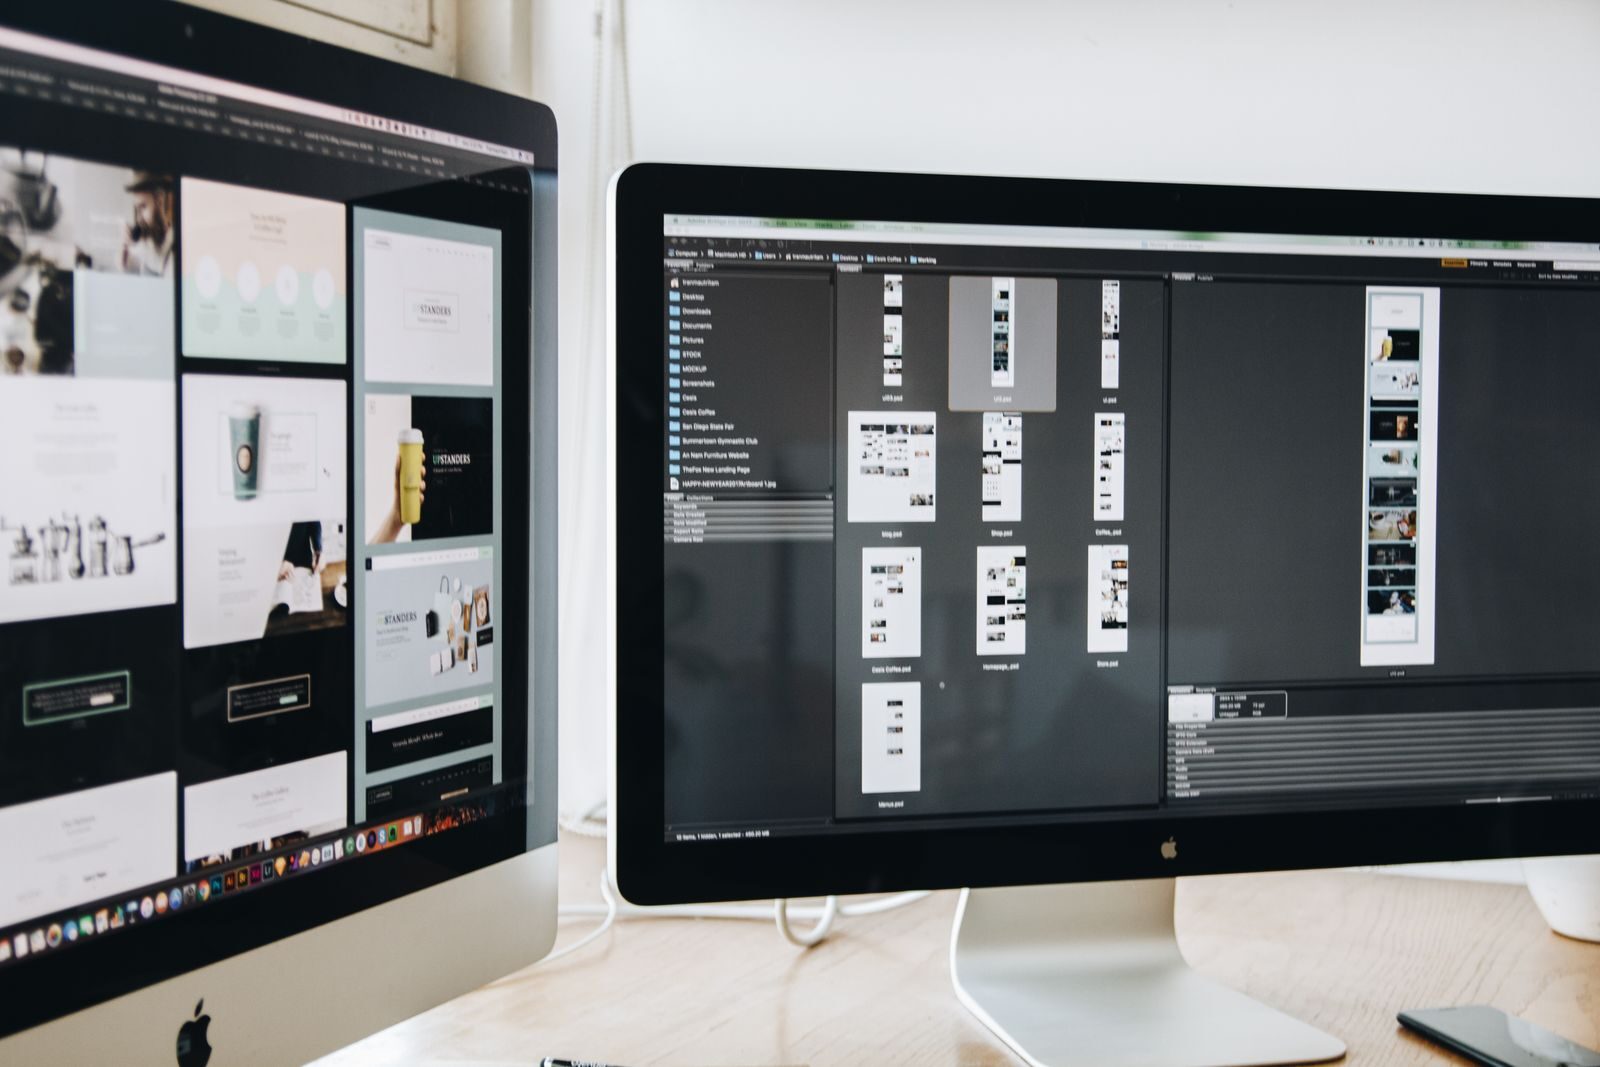
Adding a second monitor can make everyday computer work much easier. You can keep a browser open on one screen while working on a document on the other, compare files side by side, or give applications more space without constantly switching between windows.
The setup is usually straightforward, but choosing the wrong cable, using a port that does not support video, or selecting incorrect display settings can cause unnecessary problems. The steps below cover the most important checks before and after connecting a second screen.
Check the Ports on Your Computer and Monitor
Before buying a cable or adapter, look at the available ports on both devices. Common display connections include:
- HDMI;
- DisplayPort;
- Mini DisplayPort;
- USB-C;
- Thunderbolt;
- DVI or VGA on some older equipment.
The easiest setup is usually a direct connection using the same type of port on both devices, such as HDMI to HDMI or DisplayPort to DisplayPort.
If the ports are different, you may need an adapter or a cable designed for two different connector types.
Make Sure the Port Supports Video
This is especially important when using USB-C. USB-C describes the connector shape, but not every USB-C port provides the same features.
Some USB-C ports support video output, while others may be intended only for charging or data transfer. Check the computer manufacturer’s specifications if you are unsure.
The same applies when using a docking station. Confirm that the dock supports external displays and that its video capabilities match the resolution and number of monitors you want to use.
Connect the Second Monitor
Turn on the monitor and connect it to the computer using the appropriate cable.
Most modern operating systems detect an external display automatically. If the monitor does not show an image immediately, use the monitor’s physical controls to check that the correct input source is selected.
For example, a monitor with both HDMI and DisplayPort connections may remain set to DisplayPort even though the computer is connected through HDMI.
Choose Between Duplicate and Extended Displays
After the monitor is detected, you normally have two basic ways to use it.
Duplicate the display
Duplicate mode shows the same content on both screens. This can be useful for presentations, demonstrations, or situations where another person needs to see exactly what appears on your main display.
Extend the display
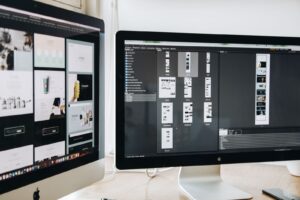
Extended mode treats the second monitor as additional desktop space. You can move windows and applications between the two screens.
For most everyday work, extended mode is the more useful option because it provides additional workspace rather than simply copying the first display.
Arrange the Screens Correctly
Once extended mode is enabled, open your computer’s display settings. You should see representations of the connected screens, usually identified with numbers.
Arrange these display icons so that they match the physical position of the monitors on your desk.
For example, if the second monitor is physically to the right of your laptop, its icon should also appear to the right in display settings.
This controls how the mouse pointer moves between screens. If the virtual arrangement is incorrect, you may need to move the pointer in an unexpected direction to reach the second monitor.
Select the Main Display
You can usually choose which monitor acts as the main display.
The main display is typically where the operating system places primary desktop elements and where many applications open by default.
If you work mainly on the larger external monitor, you may prefer to make it the main display while keeping the laptop screen available for secondary applications.
Use the Recommended Resolution
Each monitor has a native resolution that normally provides the clearest image. Your operating system often marks the appropriate option as recommended.
Using a lower resolution can make text and images appear blurry or stretched.
If everything looks too small at the recommended resolution, adjust display scaling instead of immediately reducing the resolution.
Adjust Display Scaling
Scaling changes the apparent size of text, icons, menus, and other interface elements without necessarily reducing the monitor’s resolution.
This is particularly useful when combining a high-resolution laptop display with a larger external monitor.
The two screens may require different scaling values. Adjust each display separately until text is comfortable to read and applications appear at a practical size.
Check the Refresh Rate
If the monitor supports multiple refresh rates, display settings may allow you to choose between them.
For ordinary office work, the default setting is often sufficient. If you use a high-refresh-rate monitor, confirm that the selected cable, computer port, and display settings support the refresh rate you expect.
If a desired option is missing, the limitation may come from the cable, adapter, docking station, graphics hardware, or display connection.
What to Do If the Second Monitor Is Not Detected
If the computer does not recognize the monitor, start with the simple checks before changing drivers or advanced settings.
- Confirm that the monitor is powered on.
- Check that the video cable is firmly connected at both ends.
- Select the correct input source on the monitor.
- Disconnect and reconnect the cable.
- Try another compatible port if one is available.
- Test another cable if possible.
- Restart the computer with the monitor connected.
You can also open display settings and use the option to detect connected displays if your operating system provides one.
If the Monitor Is Detected but Shows No Picture
A detected monitor with a blank screen can indicate an unsupported resolution, refresh rate, cable problem, or incorrect input selection.
Return the display settings to recommended values and check the monitor’s input source first.
If an adapter or docking station is being used, try connecting the monitor directly to the computer when possible. This can help determine whether the intermediary device is causing the problem.
Second Monitor Setup Checklist
- Identify the video ports on both devices.
- Confirm that USB-C or docking-station ports support video output.
- Use a compatible cable or adapter.
- Select the correct input source on the monitor.
- Choose duplicate or extended display mode.
- Arrange the virtual displays to match their physical positions.
- Select the preferred main display.
- Use the recommended resolution.
- Adjust scaling if text or interface elements are too small.
- Check the cable and input source first if the monitor is not detected.
Conclusion
Connecting a second monitor is usually simple once you confirm that the computer, cable, and monitor use compatible video connections. After the hardware is connected, choosing extended mode, arranging the screens correctly, and adjusting resolution and scaling can make the setup feel much more natural.
If something does not work, start with the cable, monitor input, and basic display settings before moving to more complicated troubleshooting.
For more practical step-by-step guides, explore the How-To section on Howzora.