
A phone that will not charge does not automatically have a failed battery or damaged charging port. The problem may be as simple as a worn cable, faulty charger, dirty connector, software issue, or unsuitable power source.
The safest way to troubleshoot the problem is to start with the easiest external checks and move gradually toward possible hardware problems. Avoid forcing connectors, inserting metal objects into the charging port, or opening a phone with a swollen or damaged battery.
Confirm That the Phone Is Actually Receiving Power
Connect the phone to a charger and leave it connected for several minutes, especially if the battery is completely empty.
A deeply discharged phone may not turn on immediately. Depending on the device, it may display a low-battery symbol before it has enough power to start normally.
If nothing appears after a reasonable amount of time, continue with the checks below.
Try a Different Charging Cable
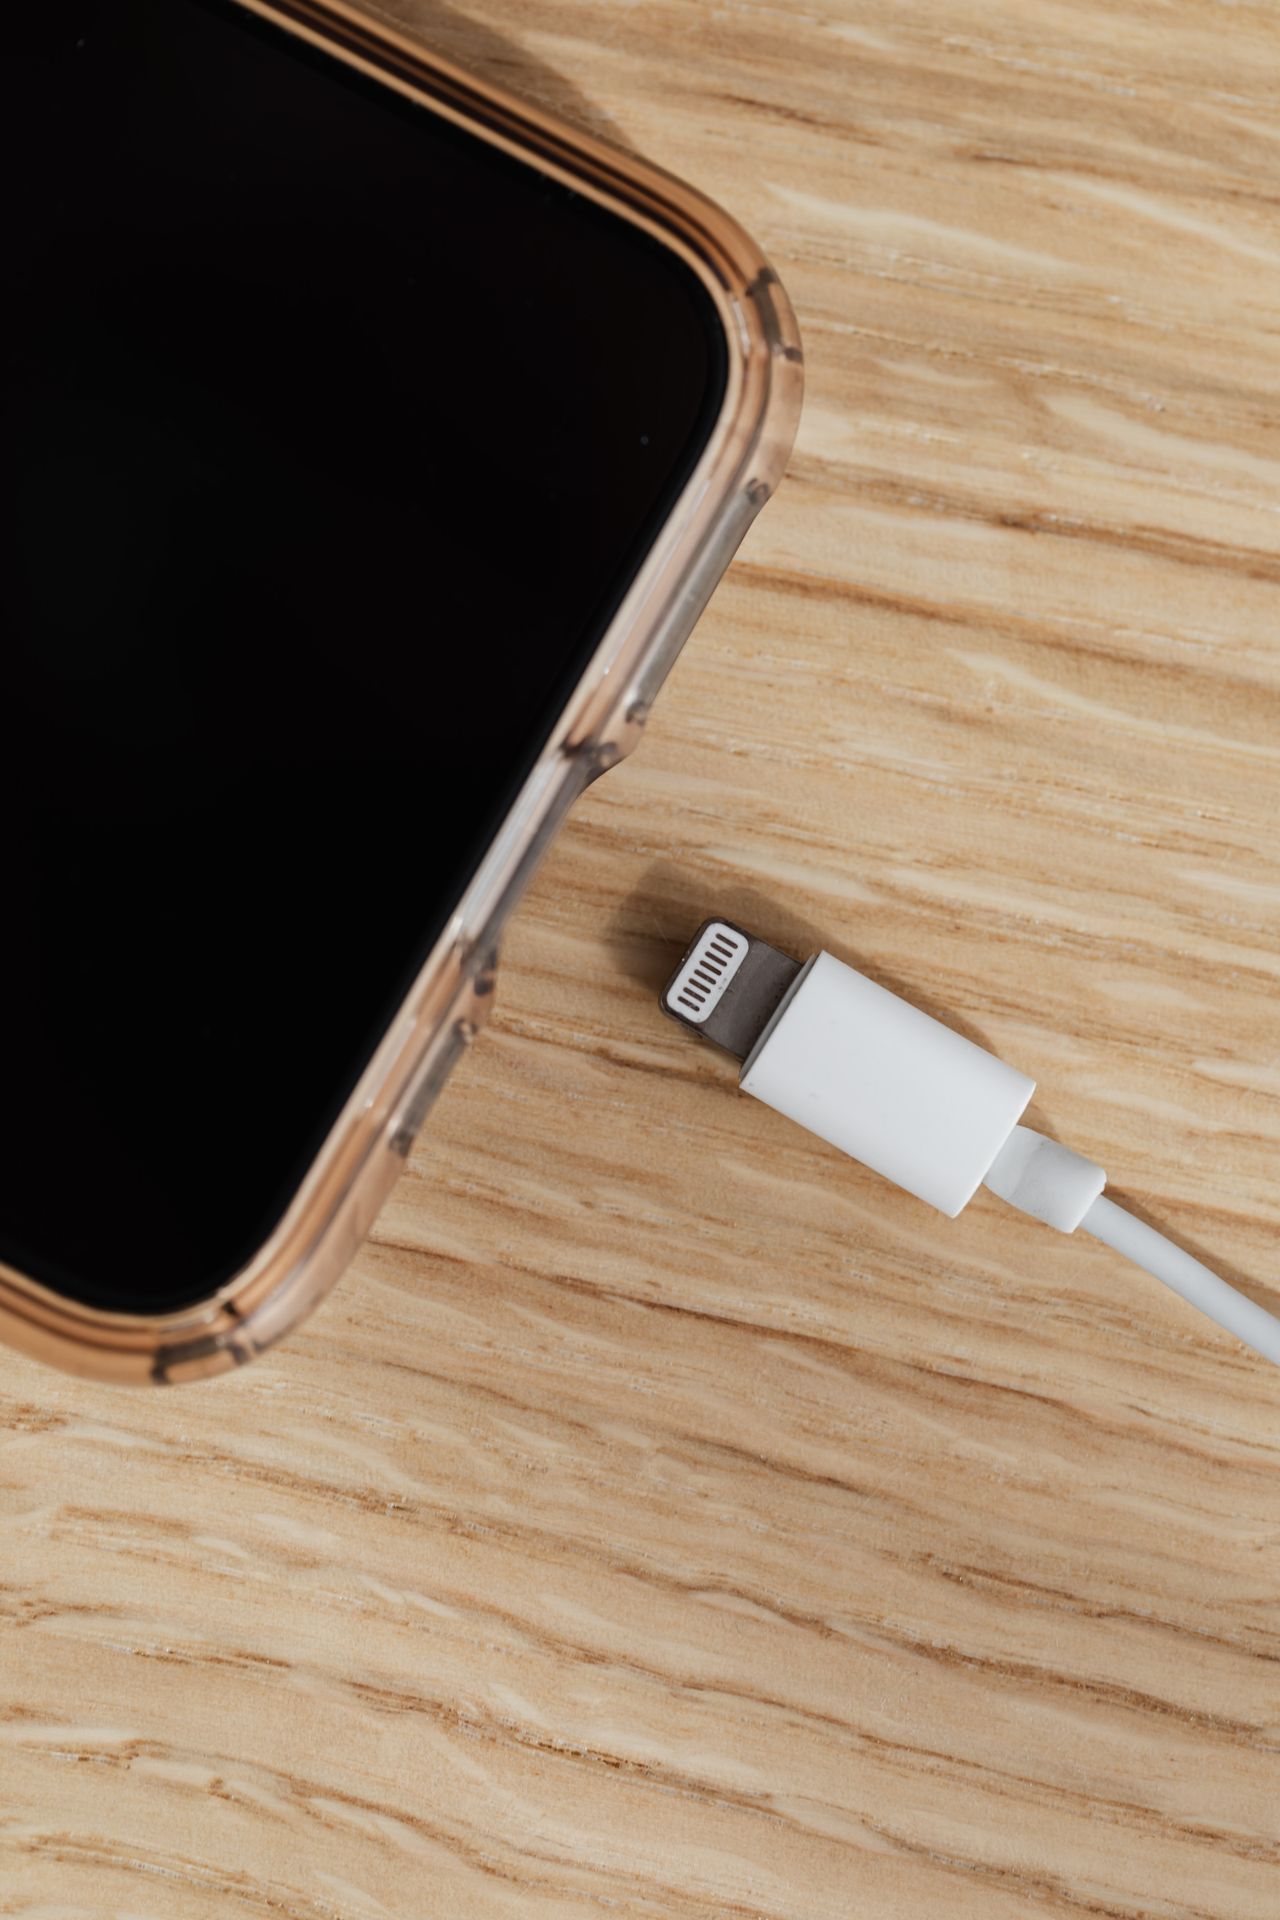
Charging cables are one of the most common points of failure. They can become damaged internally even when the outside still looks normal.
Try another cable that you know works with a different compatible device.
Pay attention to:
- fraying near the connectors;
- bent or loose plugs;
- visible corrosion or dirt;
- a connector that only works when held at a particular angle.
If the phone begins charging normally with another cable, the original cable is likely the problem.
Test Another Charger
The charging adapter can also fail independently of the cable.
Try another compatible charger with the same known-good cable. If possible, use a charger from a reputable manufacturer and one that supports the charging requirements of your phone.
A very low-powered USB source may charge some phones extremely slowly or fail to provide enough power when the device is in use.
Try a Different Wall Outlet
Before assuming the phone is faulty, eliminate the power source as a possibility.
Plug the charger into another wall outlet. If you are using a power strip, extension cable, computer USB port, or travel adapter, try connecting the charger directly to a known-working outlet.
You can also test the outlet with another device if necessary.
Inspect the Charging Port
Pocket lint and dust can gradually collect inside a charging port. Eventually, the cable may no longer seat fully even though it appears to be connected.
Turn the phone off and inspect the port in good light.
Look for:
- visible lint or debris;
- bent or damaged internal parts;
- corrosion;
- a connector that feels unusually loose.
Do not insert needles, paper clips, pins, or other metal objects into the port. They can damage the contacts or create an electrical problem.
If debris is clearly visible but cannot be removed safely without tools or force, professional cleaning is the better option.
Check Whether the Cable Fits Normally
A charging cable should normally connect securely without excessive force.
If the plug does not go in completely, falls out easily, or needs to be held at a particular angle, the problem may be debris or physical damage inside the port.
Do not repeatedly force the connector. Continued pressure can turn a minor port problem into permanent damage.
Restart the Phone
Charging problems are not always hardware-related. A temporary operating-system issue may interfere with charging detection or battery reporting.
If the phone still has enough power to operate, restart it normally and reconnect the charger.
If the phone is frozen, use the manufacturer’s recommended forced-restart procedure for that specific model rather than experimenting with random button combinations.
Look for Moisture Warnings
Many modern phones can detect moisture in the charging connector and temporarily disable wired charging.
If the phone displays a moisture or liquid warning, disconnect the charger and follow the manufacturer’s instructions.
Do not try to bypass the warning simply to make the phone charge. Charging while moisture is present can damage the connector.
Allow the device to dry naturally in a ventilated location. Avoid inserting objects into the port or applying excessive heat.
Avoid Using High Heat to Dry the Phone
Hair dryers, heaters, ovens, and other strong heat sources can damage adhesives, seals, displays, batteries, and internal components.
If moisture is suspected, gentle airflow and time are generally safer than trying to heat the phone quickly.
Check the Phone’s Temperature
Phones may temporarily stop or limit charging when the battery is too hot or too cold.
If the device feels unusually hot, disconnect it and allow it to return to a normal temperature before trying again.
Do not place an overheated phone in a refrigerator or freezer. Rapid temperature changes can create additional problems, including condensation.
Remove the Case Temporarily
A poorly fitting case can occasionally interfere with a charging connector or contribute to heat buildup.
Remove the case and reconnect the charger to see whether the cable fits more securely.
This is particularly useful when the plug appears unable to enter the charging port completely.
Check for Software Updates
If charging works intermittently and the phone still operates normally, check whether an operating-system update is available.
Software updates can fix battery-management and charging-related bugs, although they will not repair physical damage to a cable, port, or battery.
If the battery level is extremely low, do not begin a major update unless the phone can maintain a stable power connection.
Check Battery and Charging Information
Some phones provide battery-health information in the operating-system settings.
A significantly degraded battery may charge slowly, lose power quickly, or behave unpredictably.
Battery-health information is useful as a clue, but it does not automatically identify the cause of every charging problem.
Test Wireless Charging If Your Phone Supports It
If the phone supports wireless charging, testing it can help narrow down the problem.
If wireless charging works normally while wired charging does not, the issue is more likely related to the cable, charger, or charging port than to the battery itself.
Remove thick or incompatible cases before testing wireless charging, and make sure the phone is positioned correctly on the charging pad.
What If the Phone Charges Only at a Certain Angle?
If charging starts only when the cable is pushed, twisted, or held in a particular direction, stop repeatedly manipulating the connector.
This behavior often points to:
- a worn charging cable;
- debris inside the port;
- a loose or damaged charging connector.
Test another cable first. If the problem remains, the port may need professional inspection.
What If the Phone Charges Very Slowly?
Slow charging can have several causes even when charging technically works.
Check whether:
- the charger provides enough power for the device;
- the cable supports the required charging rate;
- the phone is being heavily used while charging;
- the device is unusually hot;
- the charging port is partially obstructed;
- battery optimization features are intentionally slowing charging near a certain percentage.
Some phones deliberately slow charging to protect battery health, especially near full charge or when the device is warm.
Watch for Signs of Battery Damage
Stop using and charging the phone if you notice signs of possible battery damage.
Warning signs include:
- the screen or back cover lifting away from the frame;
- visible swelling;
- the phone becoming unusually or dangerously hot;
- a chemical smell;
- physical deformation of the device.
A swollen lithium-ion battery should not be pressed back into place, punctured, or handled as a normal repair project. Disconnect the device from power and arrange professional service or appropriate battery disposal.
Back Up Your Data Before Hardware Repair
If the phone can still turn on, consider backing up important photos, documents, contacts, and other data before taking it for hardware repair.
This is particularly important if the charging port, battery, or internal power circuitry may require replacement.
Do not delay dealing with a visibly swollen or overheating battery solely to complete a backup.
When Professional Repair Is the Better Option
Professional inspection is appropriate when:
- multiple known-good chargers and cables do not work;
- the charging port appears physically damaged;
- the connector is loose or pushed inside the device;
- the phone has recently suffered significant liquid damage;
- the battery is swollen;
- the device becomes dangerously hot;
- wired and wireless charging both fail;
- the phone shuts down immediately after being disconnected from power.
At that point, further home troubleshooting is unlikely to solve the problem safely.
Phone Charging Troubleshooting Checklist
- Leave a completely discharged phone connected for several minutes.
- Test a known-good charging cable.
- Test another compatible charger.
- Try a different wall outlet.
- Inspect the charging port in good light.
- Do not insert metal objects into the port.
- Restart the phone if it still has power.
- Follow moisture and temperature warnings.
- Test wireless charging if the device supports it.
- Stop using the phone if the battery appears swollen or dangerously hot.
Conclusion
When a phone will not charge, start with the cable, charger, outlet, and charging port before assuming that the battery or internal hardware has failed. Many charging problems can be identified through these simple external checks.
If the phone shows signs of battery swelling, serious overheating, liquid damage, or physical port damage, stop troubleshooting and have the device inspected safely rather than trying to force it to charge.
For more practical troubleshooting guides, explore the Fix & Repair section on Howzora.