
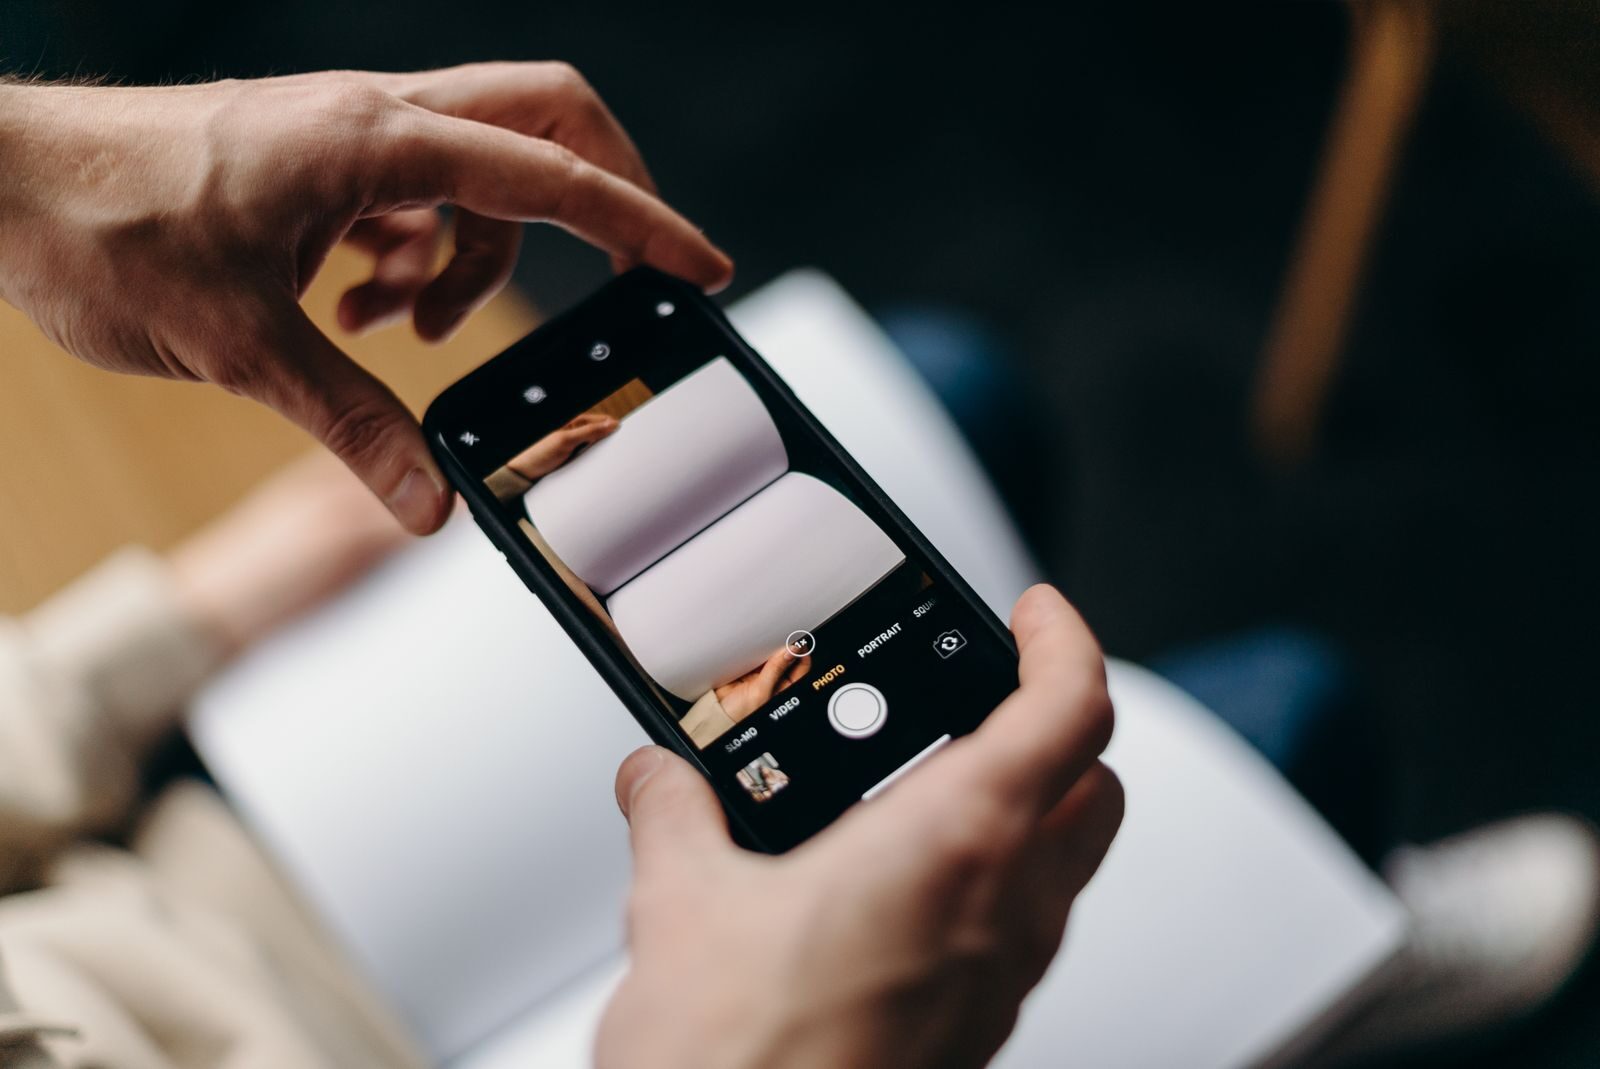
Turn paper documents into clear PDF files using your smartphone. With good lighting, the right scanning feature, and a few simple checks, a phone can produce PDFs that are much easier to read, store, and share than ordinary photos.
Why Scan a Document Instead of Taking a Normal Photo?
A regular camera photo can capture a document, but it often includes the table, shadows, uneven angles, or unnecessary background.
Document-scanning tools are designed specifically for paper.
Depending on the app or phone, they can:
- Detect the edges of the page
- Correct perspective
- Crop the background automatically
- Improve contrast and readability
- Combine several pages into one PDF
- Save or share the finished document directly
For receipts, forms, contracts, notes, invoices, and other paperwork, a scanning feature is usually more practical than taking separate photographs.
Prepare the Document Before Scanning
Place the paper on a flat, stable surface.
Remove folds as much as possible and make sure the entire page is visible.
A background that contrasts with the paper can help the scanning tool identify the page edges. For example, a white document is usually easier to detect on a darker desk than on another white surface.
If you are scanning several pages, arrange them in the correct order before you begin.
Use Strong, Even Lighting
Lighting has a major effect on scan quality.
Try to illuminate the entire page evenly without creating strong reflections or shadows.
Avoid:
- Holding the phone so your hand casts a shadow across the page
- Using direct flash on glossy documents
- Scanning beside a very bright window that lights only one side
- Working in a dark room where the camera introduces blur or noise
Indirect daylight or a well-lit room often works well.
Keep the Phone Parallel to the Page
Hold the phone directly above the document rather than photographing it from a steep angle.
The scanning software can correct some perspective distortion, but starting with a straight image usually produces better results.
Try to keep all four corners of the page visible on the screen.
If the phone is difficult to hold steadily, rest your elbows on the table or pause briefly before capturing the page.
Use a Built-In Document Scanner When Available
Many smartphones already include document-scanning features through system apps, note-taking tools, file managers, or cloud-storage apps.
Before installing another application, check whether your phone already provides a scanner.
A built-in tool can often:
- Recognize the paper automatically
- Capture the page when it is steady
- Correct the page shape
- Apply document-friendly filters
- Add additional pages
- Create a PDF
The exact menus vary between Android phones, iPhones, and individual apps.
Let the Scanner Detect the Page Edges
Most scanning tools place a border around the document after detecting it.
Check that the border follows the actual edges of the paper.
Automatic detection sometimes makes mistakes when:
- The paper and background are similar colors
- Part of the page is covered by a hand
- The document is folded
- The lighting is uneven
- Other papers are visible underneath
If necessary, adjust the corner markers manually before saving the scan.
Choose the Right Scan Mode
Scanning apps may offer several appearance options.
Common modes include:
- Color
- Grayscale
- Black and white
- Photo
For ordinary text documents, grayscale or an enhanced document mode can improve contrast.
Use color when the original contains colored signatures, stamps, charts, highlighting, identification features, or other information where color matters.
Do not apply an aggressive black-and-white filter if it makes faint handwriting or small text disappear.
Scan Multiple Pages Into One PDF
For a multi-page document, use the scanner’s option to add another page rather than creating several unrelated files.
Scan the pages in order and check the thumbnails before saving.
If you accidentally scan one page twice or put pages in the wrong order, many tools allow you to delete or rearrange them before creating the final PDF.
Combining related pages into one file makes the document easier to store and share.
Review Every Page Before Saving
Do not assume a scan is readable simply because the full page appears on the screen.
Zoom in and check important details.
Pay particular attention to:
- Names
- Dates
- Amounts
- Account or reference numbers
- Signatures
- Small print
- Stamps or handwritten notes
If any important information is blurry, cut off, overexposed, or hidden by a shadow, scan that page again.
It is much easier to redo one page immediately than discover the problem after the original document is no longer available.
Check the Page Orientation
Before exporting the PDF, make sure every page is facing the correct direction.
A single sideways or upside-down page can make an otherwise good scan inconvenient to read.
Most scanning tools allow you to rotate pages before saving.
Give the PDF a Clear File Name
Avoid leaving important documents with generic names such as:
Scan001.pdf
Document.pdf
NewScan.pdf
Use a name that helps you recognize the file later.
For example:
2026-08-29_Rental-Agreement.pdf
2026-08-29_Utility-Bill.pdf
2026-08-29_Insurance-Document.pdf
Dates in year-month-day format are particularly useful when you regularly scan similar documents.
Save the PDF in the Right Folder
After scanning, move the PDF to a logical location rather than leaving it indefinitely in the scanning app or Downloads folder.
Possible folders include:
- Finance
- Receipts
- Insurance
- Work
- Education
- Home
- Personal Documents
If you already use a digital filing system, place the document in the appropriate existing folder.
Be Careful With Sensitive Documents
Scanned documents may contain personal or confidential information.
Examples include:
- Identification documents
- Contracts
- Bank statements
- Tax records
- Medical paperwork
- Employment documents
Avoid leaving sensitive scans unnecessarily in an unprotected photo gallery or sharing them through public links.
When using a third-party scanning app, review where files are stored and whether the app uploads documents to a cloud service.
For particularly sensitive material, use storage and sharing methods appropriate for the information involved.
Check the PDF Before Sending It
Before attaching the file to an email or uploading it to a website, open the final PDF once.
Confirm:
- All pages are included.
- The pages are in the correct order.
- Nothing important has been cropped.
- Text is readable.
- The orientation is correct.
- The file opens normally.
This final check can prevent sending an incomplete or unreadable document.
Reduce the File Size if Necessary
A long document scanned in high-resolution color can create a large PDF.
If a website or email service rejects the file because it is too large, check whether your scanning app provides a quality or compression option.
Use enough quality to keep text and signatures readable.
Avoid excessive compression that makes small text difficult to read.
Keep Important Originals When Necessary
A digital scan is useful for organization and sharing, but it does not automatically replace every original document.
Some contracts, certificates, receipts, identification records, or official forms may still need to be kept in physical form.
Do not destroy an original simply because you have created a PDF unless you know the digital copy is sufficient for your purpose.
Quick Document Scanning Checklist
- Place the document on a flat surface.
- Use bright, even lighting.
- Keep the phone parallel to the page.
- Use a document scanner rather than a normal camera when possible.
- Check that all four page edges are detected correctly.
- Use color when important information depends on color.
- Scan related pages into one PDF.
- Review small text, signatures, dates, and numbers.
- Check page order and orientation.
- Use a descriptive PDF file name.
- Store sensitive documents carefully.
- Open the final PDF once before sending or uploading it.
Conclusion
A smartphone can replace a dedicated scanner for many everyday documents. The key is to use a proper scanning feature, provide good lighting, keep the page straight, and review the result before saving it.
Once the scan is complete, give the PDF a meaningful name and store it in the correct folder so it is easy to find later.
For more practical step-by-step guides, visit How-To.