

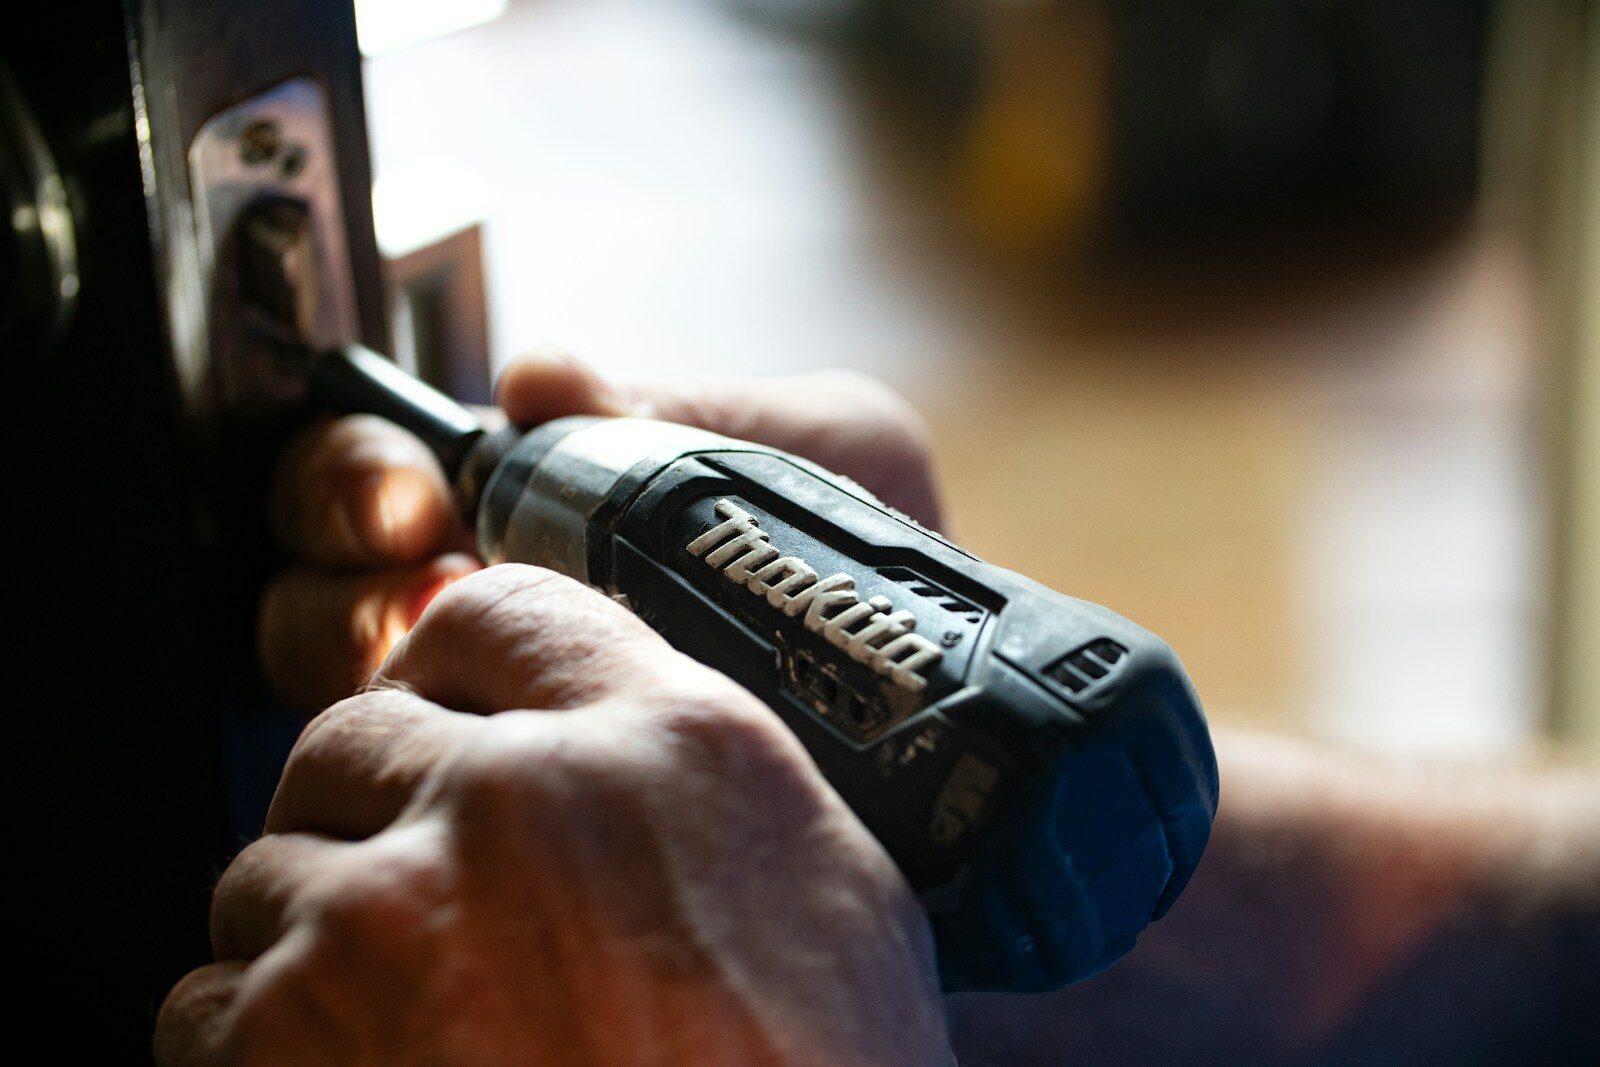
A loose or damaged door hinge can cause a door to sag, scrape against the frame, become difficult to close, or make noise when it moves.
Fortunately, many common hinge problems can be diagnosed without immediately removing the door or replacing the entire hinge.
The safest approach is to identify exactly what is loose or damaged, start with the simplest repair, and avoid removing wood or installing oversized screws until you know what the problem requires.
Common Door Hinge Problems
Door hinge problems usually come from one or more of the following:
- Loose hinge screws
- Stripped screw holes in the door or frame
- A bent or damaged hinge
- A worn hinge pin
- Incorrectly positioned hinges
- A door that is too heavy for the existing hardware
- Movement or damage in the door frame
Before repairing anything, open and close the door slowly and watch what happens.
Start by Identifying the Actual Problem
Look closely at each hinge while the door is partly open.
Check for:
- Loose or missing screws
- A hinge plate pulling away from the frame
- A hinge plate pulling away from the door
- Visible bending or cracking
- Rust or significant corrosion
- Excessive movement around the hinge pin
- A door that drops when opened
Then close the door slowly and inspect the gaps around it.
If the door is rubbing against the frame, the problem may involve hinge alignment rather than a broken hinge.
Tools and Materials You May Need
The exact repair determines what you need, but common items include:
- A screwdriver that fits the hinge screws correctly
- Replacement screws
- A replacement hinge if the existing one is damaged
- Wooden toothpicks or a wood dowel for minor stripped holes
- Wood glue
- A hammer
- A door wedge or another way to support the door
- A suitable hinge lubricant
A drill may be useful for pilot holes or installation, but a hand screwdriver gives better control when simply tightening existing hinge screws.
1. Tighten Loose Hinge Screws
Start with the simplest repair.
Using a correctly sized screwdriver, check the screws securing each hinge to both:
- The door
- The door frame
Tighten loose screws until the hinge sits firmly against the surface.
Do not continue tightening once the screw is secure.
Excessive force can strip the wood and turn a small problem into a larger one.
After tightening the hinges, open and close the door again.
Sometimes this is all that is needed.
2. Pay Particular Attention to the Upper Hinge
When a door begins to sag, the upper hinge is worth inspecting carefully because it experiences considerable pulling force from the weight of the door.
Signs of trouble around the upper hinge can include:
- The hinge plate separating from the frame
- Loose screws
- Screw heads sitting farther out than the others
- A widening gap around the hinge side of the door
However, do not assume the upper hinge is always the cause.
Inspect all hinges and the frame before deciding which part needs repair.
3. Repair a Minor Stripped Screw Hole
If a screw turns without becoming tight, the wood around the screw hole may no longer provide enough grip.
For a minor stripped hole in solid wood, one common repair is to rebuild the hole with small pieces of wood.
A simple method is:
- Remove the loose screw.
- Remove loose wood or debris from the hole.
- Coat one or more wooden toothpicks with a small amount of wood glue.
- Insert them into the damaged hole.
- Trim the excess so the repair sits flush.
- Allow the glue to cure according to its instructions.
- Make a small pilot hole if appropriate.
- Reinstall the screw carefully.
The goal is to provide solid wood for the screw threads to grip.
Do not simply force a screw into wet glue and expect the repair to reach full strength immediately.
4. Use a Wood Dowel for a More Substantial Repair
A badly enlarged screw hole may need a stronger repair.
One option for suitable solid-wood frames is to:
- Drill the damaged hole cleanly to the appropriate size.
- Glue in a matching wood dowel.
- Allow the adhesive to cure completely.
- Trim the dowel flush.
- Mark the correct screw position.
- Drill an appropriate pilot hole.
- Reinstall the hinge screw.
This repair requires more accuracy than the toothpick method.
If the frame is cracked, hollow, badly damaged, or made from material you are unsure how to repair, investigate the construction before drilling.
5. Be Careful With Longer Screws
A longer screw can sometimes provide better grip by reaching sound wood behind a damaged surface.
However, there is no universal screw length that is safe for every door frame.
The correct screw depends on:
- The thickness of the frame
- The construction behind it
- The type of hinge
- The weight of the door
- The location of wiring, plumbing, or other concealed materials
Do not automatically replace hinge screws with extremely long screws simply because the existing hole is loose.
If you do not know what is behind the frame, use an appropriate repair method or get professional advice.
6. Replace a Bent or Damaged Hinge
A physically damaged hinge is usually better replaced than bent back into shape.
Consider replacement if you find:
- A cracked hinge leaf
- Severe bending
- A damaged hinge pin
- Significant corrosion
- Excessive play that remains after tightening
Choose a replacement that matches the existing hinge as closely as possible.
Check:
- Overall hinge height and width
- Leaf thickness
- Screw-hole pattern
- Corner shape
- Pin design
- Weight rating when relevant
A replacement that matches the existing mortise usually requires less modification to the door or frame.
7. Support the Door Before Removing a Hinge
Do not allow the full weight of the door to hang from the remaining hardware while you work.
Before removing a hinge, support the door with:
- A suitable wedge
- Wood blocks
- A stable support
- A helper
Heavy doors can shift unexpectedly when a hinge is removed.
If the door is unusually heavy, large, exterior, fire-rated, or otherwise difficult to control, professional help may be the safer option.
8. Replace One Hinge at a Time When Possible
If the door is otherwise aligned correctly and you are replacing a matching hinge, working on one hinge at a time can help preserve the existing position.
A basic replacement process is:
- Support the door securely.
- Remove the screws from the damaged hinge.
- Remove the old hinge.
- Compare the replacement with the original.
- Position the new hinge in the existing recess.
- Install the screws without overtightening them.
- Test the door before moving to another hinge.
If the new hinge does not sit correctly in the existing recess, do not force it into position.
9. Check Whether the Hinge Mortise Is Correct
A hinge normally sits in a shallow recess, or mortise, so its surface is positioned correctly relative to the door and frame.
If the hinge sits too high, too low, or at an angle, the door may not align correctly.
Signs of a mortise problem include:
- The hinge leaf sitting above the surrounding wood
- A hinge recessed noticeably too deep
- A door that becomes misaligned immediately after hinge replacement
Correcting a mortise can involve removing or adding very small amounts of material.
Because these adjustments permanently change the door or frame, diagnose the problem carefully before using a chisel.
10. Do Not Randomly Move the Hinges to Align the Door
Simply loosening a hinge and moving it up, down, or sideways is not always a reliable repair.
Changing hinge position can:
- Misalign the hinge leaves
- Weaken existing screw holes
- Cause binding
- Create new gaps
First determine why the door has moved.
Loose screws, damaged wood, incorrect hinge depth, frame movement, or a bent hinge may be the real cause.
Repair that cause before changing the hinge location.
11. Check the Door After Each Adjustment
After every repair, operate the door several times.
Check:
- Does it move freely?
- Does it stay supported without excessive movement?
- Does it rub against the frame or floor?
- Does it close without needing to be lifted or pushed sideways?
- Does the latch line up with the strike plate?
- Do the hinge screws remain secure?
Make one change at a time whenever possible.
That makes it much easier to determine which adjustment actually solved the problem.
12. Fix a Squeaking Hinge Separately
A squeaking hinge is not necessarily broken.
The sound may come from friction around the hinge pin.
If the hinge is otherwise secure and undamaged:
- Wipe away visible dirt around the hinge.
- Apply a small amount of suitable lubricant to the hinge pin or moving joint.
- Open and close the door several times.
- Wipe away excess lubricant.
Use only a small amount.
Too much lubricant can run down the door, collect dust, or stain nearby finishes.
If squeaking continues because the hinge is bent, loose, or badly worn, lubrication will not correct the underlying mechanical problem.
13. Check for Frame Damage
Sometimes the hinge itself is not the main problem.
Inspect the wood around the hinge for:
- Cracks
- Splitting
- Loose sections
- Soft or deteriorated material
- Old repairs that are pulling out
Minor damage in sound wood may sometimes be repairable.
More serious frame deterioration can require a structural wood repair or replacement of the damaged section.
Do not rely on filler alone to support heavily loaded hinge screws if the surrounding material is no longer structurally sound.
14. Check Whether the Door Is the Actual Problem
A door that rubs or refuses to close is not always suffering from hinge failure.
Other causes can include:
- Wood swelling from humidity
- Paint buildup
- A shifted door frame
- A misaligned strike plate
- Floor movement
- A warped door
If all hinges are secure but the door still sticks, continue diagnosing the door and frame rather than replacing perfectly good hardware.
When Should a Door Hinge Be Replaced?
Replacement makes sense when the metal itself is no longer in good condition.
Examples include:
- A cracked hinge leaf
- A visibly bent hinge that affects movement
- A damaged or badly worn pin
- Severe corrosion
- Loose hinge joints that cannot be corrected
Minor surface discoloration or an occasional squeak does not automatically mean the hinge must be replaced.
When Should You Replace the Door?
A failed hinge rarely means the entire door needs replacement.
Consider replacing or professionally repairing the door when the door itself has serious damage such as:
- Major cracking around the hinge mounting area
- Severe warping
- Extensive water damage or deterioration
- A damaged core that will no longer hold the required hardware
Frame damage should also be evaluated separately.
Replacing a good door will not solve a structurally damaged frame.
Special Cases That Need More Caution
Some doors should not be treated like an ordinary lightweight interior door.
Use additional caution with:
- Heavy solid-wood doors
- Exterior entrance doors
- Fire-rated doors
- Doors with closers or special hardware
- Security doors
- Doors with severely damaged frames
These may require specific hinges, fasteners, installation methods, or code-compliant hardware.
If the repair affects the door’s safety or fire-resistance function, use appropriate approved components or consult a qualified professional.
How to Reduce Future Hinge Problems
Door hinges usually do not need a complicated maintenance schedule.
Instead:
- Tighten a screw when you notice it becoming loose.
- Do not repeatedly slam the door.
- Address scraping or sagging before it becomes severe.
- Clean dirt from hinge joints when needed.
- Lubricate squeaking moving parts when appropriate.
- Use hinges suitable for the size and weight of the door.
- Repair damaged screw holes rather than repeatedly overtightening them.
There is no need to automatically lubricate every hinge every six months or tighten every screw according to a rigid calendar if the door is working normally.
Quick Door Hinge Repair Checklist
- Identify which hinge or mounting point is loose.
- Check every screw before replacing hardware.
- Use a hand screwdriver for controlled tightening.
- Repair stripped wood instead of repeatedly tightening a loose screw.
- Use longer screws only when their length and installation location are appropriate.
- Replace hinges that are cracked, badly bent, or severely worn.
- Support the door before removing hinge hardware.
- Make one adjustment at a time.
- Test the door after every repair.
- Investigate the frame if the problem keeps returning.
When to Call a Professional
Professional repair is a sensible choice when:
- The door or frame has major cracks.
- Several hinge mounting points are badly damaged.
- The door is extremely heavy.
- You cannot safely support the door while working.
- The frame appears to have moved significantly.
- The problem repeatedly returns after repair.
- The door is fire-rated or part of a security system.
A recurring hinge problem may be a symptom of a larger alignment or frame issue rather than a simple hardware failure.
Conclusion
Most door hinge problems should be approached from the simplest cause first.
Tighten loose hardware, inspect stripped screw holes, check the condition of the hinge, and verify the door’s alignment before making permanent changes to the frame.
Repair damaged wood when appropriate, replace physically damaged hinges, and support the door securely whenever hardware is removed.
Careful diagnosis usually produces a better and longer-lasting repair than repeatedly tightening screws or making large adjustments without knowing why the door moved in the first place.
For more practical home repair guides, visit Fix & Repair.