

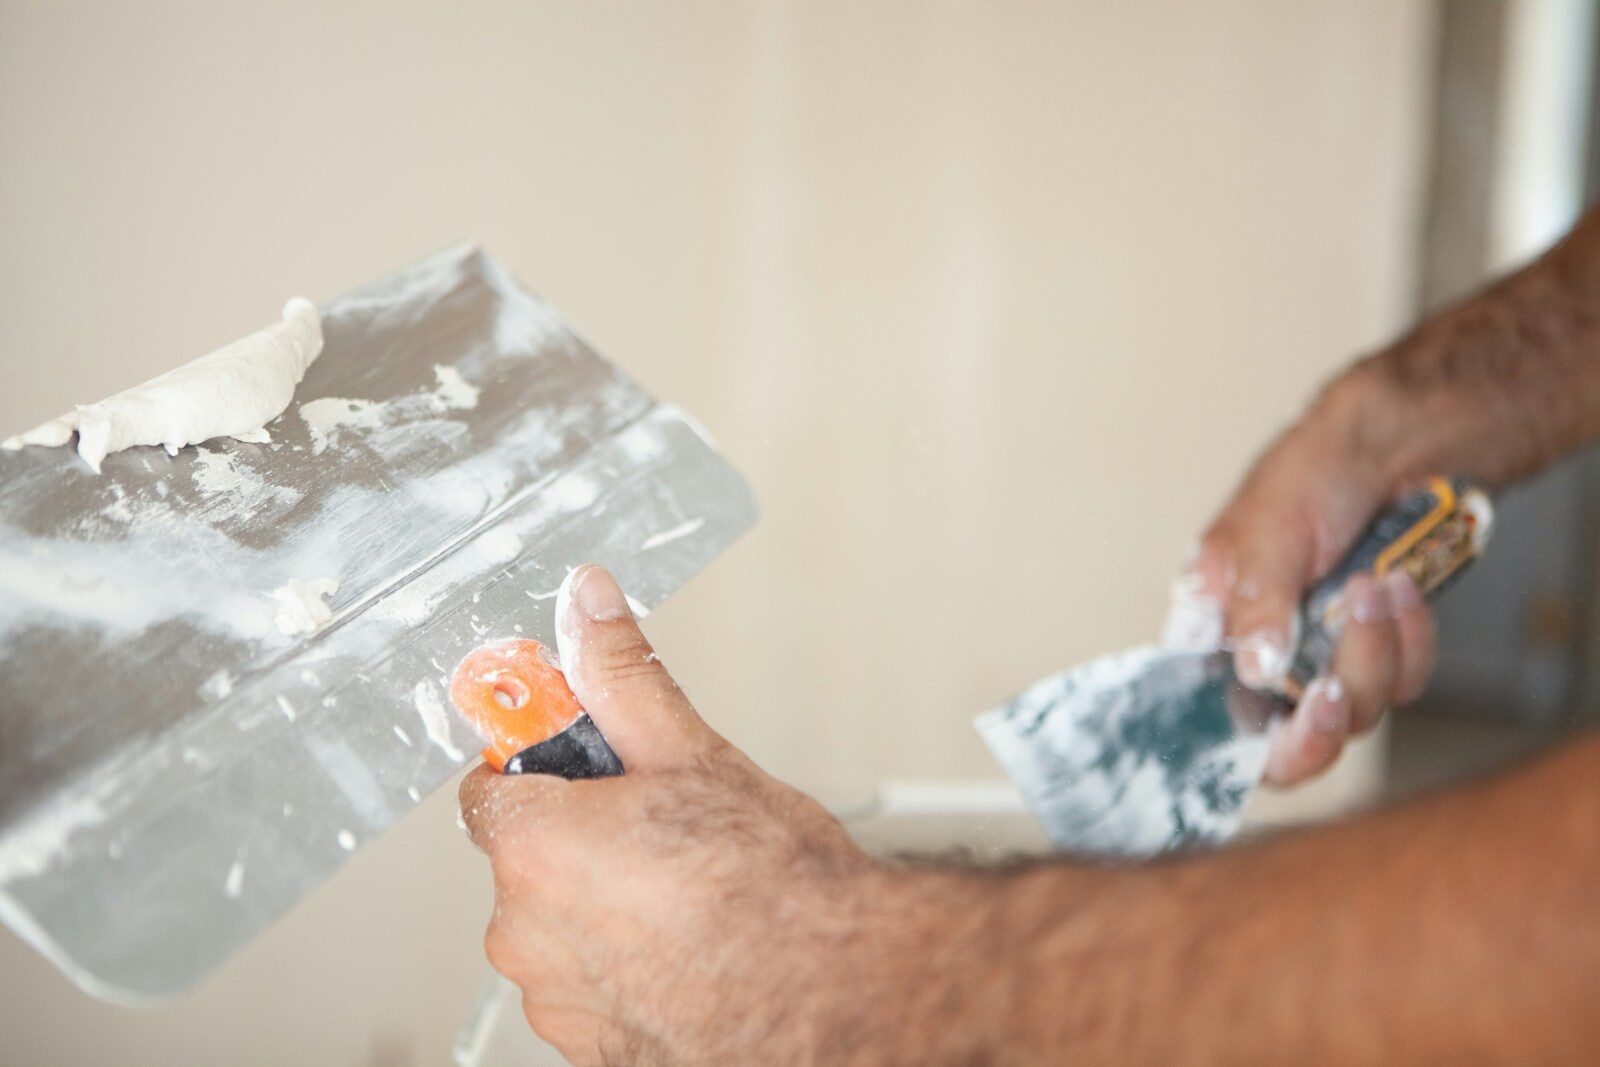
Drywall cracks are common in homes, but not every crack should be repaired in exactly the same way.
A small surface crack may need only minor preparation and joint compound, while a crack along a drywall seam may require new tape. A crack that repeatedly returns can indicate movement that should be investigated before the wall is patched again.
The key is to identify the type of crack, remove loose material, use the appropriate repair method, and allow each coat to dry properly before sanding and painting.
Why Does Drywall Crack?
Drywall cracks can appear for several different reasons.
Common causes include:
- Normal minor movement in a building
- Movement at drywall joints
- Loose or poorly embedded drywall tape
- Temperature and humidity changes
- Minor impact damage
- Movement around doors and windows
- Improper drywall installation
- Movement in the framing behind the wall
The appearance of the crack can provide useful clues, but it does not always reveal the exact cause.
A crack that appears once and remains stable is very different from one that repeatedly grows or returns after repair.
Check the Crack Before Repairing It
Before opening a tub of joint compound, inspect the area carefully.
Ask:
- Is the crack extremely thin or clearly open?
- Does it follow a drywall seam?
- Is drywall tape visible or lifting?
- Is the surrounding wall firm?
- Has the crack appeared before?
- Are there similar cracks elsewhere?
- Are nearby doors or windows suddenly difficult to open?
- Is there evidence of moisture or water damage?
If moisture is causing the damage, fix the source of the moisture before repairing the drywall.
Otherwise, the new finish may fail again.
When a Drywall Crack May Need Further Investigation
Most small cosmetic drywall cracks are not automatically evidence of a major structural problem.
However, consider professional evaluation if you notice:
- A crack that is rapidly becoming larger
- Several new cracks appearing at the same time
- Repeated cracking after previous repairs
- Significant diagonal cracking combined with other movement
- Doors or windows that suddenly stop fitting correctly
- Visible movement or distortion in the wall or ceiling
- Uneven floors or other signs of building movement
- Water damage, softness, or deterioration around the crack
Do not rely on one specific crack width as the only test.
Location, direction, recurrence, and other changes in the building are also important.
Tools and Materials You May Need
For a typical drywall crack repair, useful tools include:
- Utility knife
- Putty or taping knife
- Drywall joint compound
- Drywall tape when required
- Sanding sponge or fine sandpaper
- Primer
- Matching wall paint
- Drop cloth
- Clean cloth or brush for removing dust
Depending on the repair, you may also need:
- A wider taping knife
- Drywall screws
- A drill or driver
- A drywall patch
- Corner tape or corner-bead repair materials
Protect Yourself From Dust
Drywall sanding can create a significant amount of fine dust.
Protect nearby furniture and flooring, ventilate appropriately, and use suitable eye and respiratory protection when sanding.
Avoid creating unnecessary dust.
If the wall contains older paint, unknown wall materials, or previous compounds that may contain hazardous substances, do not aggressively sand or disturb them until you know what you are working with.
1. Repairing a Small, Stable Hairline Crack
A very small crack that is not located along a failing taped joint may sometimes require only a minor surface repair.
Start by inspecting the crack closely.
Remove:
- Loose paint
- Flaking compound
- Weak material along the crack
Do not cut deeply into otherwise sound drywall simply to make the crack larger.
The objective is to remove unstable material, not create unnecessary damage.
Apply Joint Compound
Spread a thin layer of joint compound across the damaged area.
Use the taping knife to feather the compound gradually into the surrounding wall.
Avoid leaving a thick ridge directly over the crack.
Allow the compound to dry according to the manufacturer’s instructions.
Drying time varies according to:
- The product used
- Coat thickness
- Temperature
- Humidity
Do not rely on a universal 6- or 12-hour rule.
2. Repairing a Crack Along a Drywall Seam
If the crack follows a straight drywall joint, simply covering it with compound may not provide a durable repair.
Inspect the existing tape.
Look for:
- Loose edges
- Bubbles
- Sections pulling away from the wall
- Cracking directly through the taped joint
Loose or failed tape may need to be removed and replaced.
Remove Failed Material
Use a utility knife carefully to remove loose compound and tape.
Do not pull aggressively on tape that is still firmly embedded because you may enlarge the damaged area unnecessarily.
Remove only what is unstable.
Apply New Drywall Tape
Depending on the repair method and materials you are using, paper or fiberglass mesh drywall tape may be appropriate.
Follow the instructions for the tape and compound you select.
Paper tape is commonly embedded in joint compound.
Self-adhesive mesh tape is applied differently and should be used with compatible compound and according to the manufacturer’s instructions.
Do not assume every tape-and-compound combination is interchangeable.
3. Applying the First Coat of Joint Compound
Once the damaged joint is prepared and any necessary tape is in place, apply the first coat.
The goal is coverage and proper embedding, not a perfectly finished wall after one pass.
Use the knife to spread the compound beyond the repaired area.
Keep the coat reasonably thin.
Feather the outer edges so the transition between the repair and existing wall is gradual.
Allow it to dry completely.
4. Apply Additional Thin Coats
A better drywall finish usually comes from several thin coats rather than one very thick application.
After the first coat dries:
- Remove obvious high spots.
- Apply another thin coat.
- Extend it slightly farther beyond the previous coat.
- Feather the edges.
- Allow it to dry.
A final finishing coat can be applied if the repair remains visible.
The exact number of coats depends on the wall, repair size, compound, and your finishing technique.
5. Sand Carefully
Once the compound has dried, sand only enough to remove ridges and blend the repair into the surrounding wall.
Use light pressure.
Aggressive sanding can:
- Expose drywall tape
- Damage the drywall paper
- Create low spots
- Produce unnecessary dust
It is often better to apply another thin skim coat than to keep sanding a badly shaped repair.
After sanding, remove the dust before priming.
6. Check the Repair With Side Lighting
Drywall imperfections are sometimes difficult to see when looking directly at the wall.
Shine a work light or another light source across the surface from the side.
This can reveal:
- Ridges
- Low spots
- Visible tape edges
- Uneven transitions
Correct small imperfections before painting.
Paint rarely hides a poorly finished drywall repair.
7. Prime the Repaired Area
Fresh joint compound absorbs paint differently from an already painted wall.
Priming the repaired area helps create a more uniform surface before the finish coat is applied.
Use a primer appropriate for the wall and paint system.
Allow the primer to dry according to its instructions.
8. Repaint the Wall
Use paint that matches the existing wall as closely as possible in both:
- Color
- Sheen or finish
Even an exact paint color may look slightly different if the existing wall paint has aged, faded, or been cleaned repeatedly.
For a very small repair, touching up the affected area may work.
For a larger repair, repainting a broader section of wall may provide a less noticeable result.
How to Repair an Inside-Corner Crack
Inside corners are typically reinforced with folded drywall tape.
If the crack follows the corner and the existing tape remains secure, a minor surface repair may be enough.
If the tape is:
- Loose
- Bubbled
- Torn
- Separating from the wall
the damaged portion may need to be removed and re-taped.
Apply fresh tape and compound carefully while maintaining the corner shape.
How to Repair an Outside-Corner Crack
Outside corners are often protected by corner bead.
If a crack appears there, inspect the bead before applying compound.
Look for:
- A loose corner bead
- Dents
- Corrosion on metal components
- Movement when the corner is pressed gently
Simply covering a loose corner bead with more joint compound usually will not solve the underlying problem.
Secure or repair the corner material first.
What If the Drywall Itself Is Damaged?
A crack is different from a hole, crushed drywall, or a section where the gypsum core has broken apart.
If the surrounding drywall is no longer sound, filling the surface with compound may not be enough.
A damaged section may need to be cut out and replaced with a drywall patch.
A patch repair generally involves:
- Removing damaged drywall.
- Providing suitable backing or support when necessary.
- Installing a matching drywall patch.
- Securing it correctly.
- Taping the joints.
- Applying several coats of compound.
- Sanding, priming, and painting.
Do not treat a large damaged section as if it were simply a wider crack.
Why Do Drywall Cracks Come Back?
A crack that repeatedly returns usually means the surface repair is not addressing the underlying cause.
Possible reasons include:
- Movement at the drywall joint
- Failed drywall tape
- Loose drywall
- Framing movement
- Moisture problems
- Movement around openings
- An incorrectly repaired previous crack
Repeatedly filling the same crack with compound may temporarily hide it without solving the reason it keeps opening.
Investigate recurring cracks before doing another cosmetic repair.
Should You Widen Every Crack Into a V Shape?
Not necessarily.
The original goal of opening a crack slightly is to remove unstable material and create a sound surface for repair.
However, aggressively cutting every drywall crack into a deep V can create unnecessary damage.
For a small surface crack, remove loose material and prepare only what is needed.
For a failed drywall joint, the tape and joint itself may need attention instead.
The repair should match the problem.
Common Drywall Repair Mistakes
Applying Too Much Compound at Once
A thick mound takes longer to dry and creates more sanding work.
Use several controlled coats instead.
Painting Before the Compound Is Completely Dry
Moist compound can affect the finish and may continue shrinking.
Follow the drying instructions for the product.
Skipping the Cause of a Recurring Crack
If a crack repeatedly returns, another coat of compound is unlikely to be a permanent solution.
Sanding Too Aggressively
Over-sanding can expose tape or damage drywall paper.
Ignoring Loose Tape
Compound applied over detached tape usually does not correct the weak joint underneath.
Skipping Primer
Unprimed joint compound can absorb paint differently and leave a visible patch.
Can You Prevent Drywall Cracks?
You cannot prevent every small crack.
Buildings move slightly over time, and drywall joints can respond to those changes.
However, some problems can be reduced by:
- Repairing water leaks promptly
- Keeping drywall dry
- Installing and finishing drywall correctly during renovations
- Fixing loose drywall before refinishing a joint
- Addressing recurring movement rather than repeatedly covering the crack
There is no need to follow a rigid annual crack-inspection schedule.
Simply pay attention to changes that appear or continue getting worse.
Quick Drywall Crack Repair Checklist
- Identify whether the crack is cosmetic, at a joint, or part of larger damage.
- Check for moisture before repairing the wall.
- Remove loose material rather than aggressively enlarging the crack.
- Replace loose drywall tape when necessary.
- Apply several thin coats of compound instead of one heavy coat.
- Allow each coat to dry properly.
- Sand lightly.
- Remove sanding dust.
- Prime the repaired compound.
- Use matching paint and sheen.
- Investigate cracks that repeatedly return.
When to Call a Professional
A normal cosmetic drywall repair is often manageable as a DIY project.
Professional assessment is more appropriate when:
- Cracks are repeatedly returning despite proper repair.
- Several new cracks appear together.
- The wall or ceiling appears visibly distorted.
- There is significant water damage.
- Nearby doors or windows have suddenly become misaligned.
- You suspect movement in the framing or structure.
- The damaged surface may contain hazardous older materials that should not be disturbed without proper assessment.
In those situations, repairing the visible drywall may only hide a larger problem.
Conclusion
A good drywall crack repair starts with diagnosis.
Determine whether you are dealing with a small surface crack, a failed drywall seam, a corner problem, or damaged drywall before deciding how to repair it.
Remove loose material, repair or replace failed tape when necessary, apply joint compound in controlled coats, sand carefully, prime the repair, and finish with matching paint.
Most importantly, do not repeatedly cover a crack that keeps returning without investigating why it is moving.
For more practical home repair guides, visit Fix & Repair.